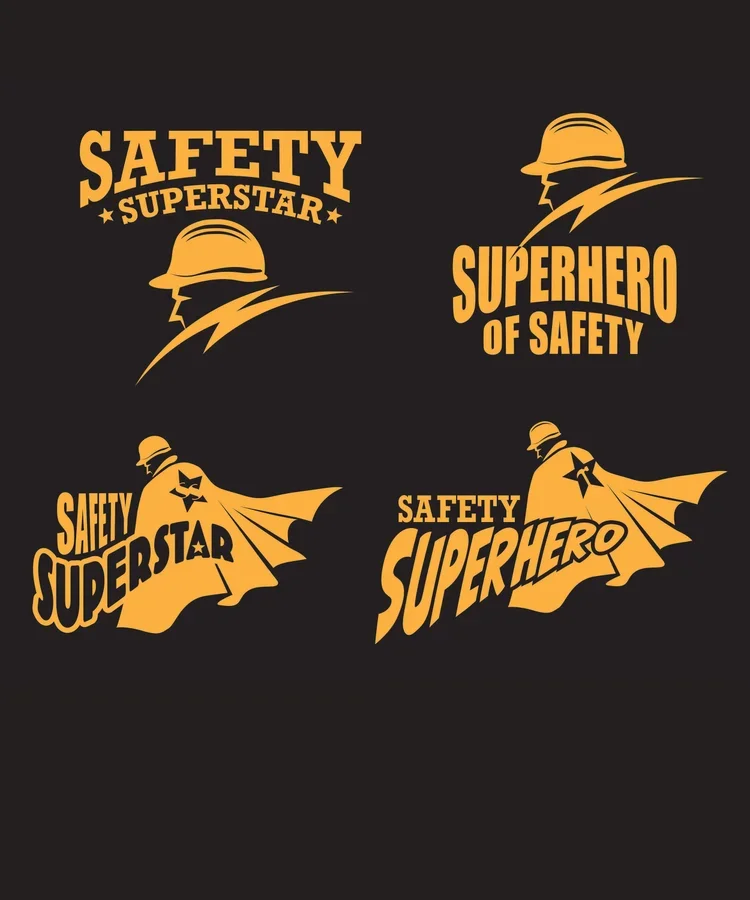
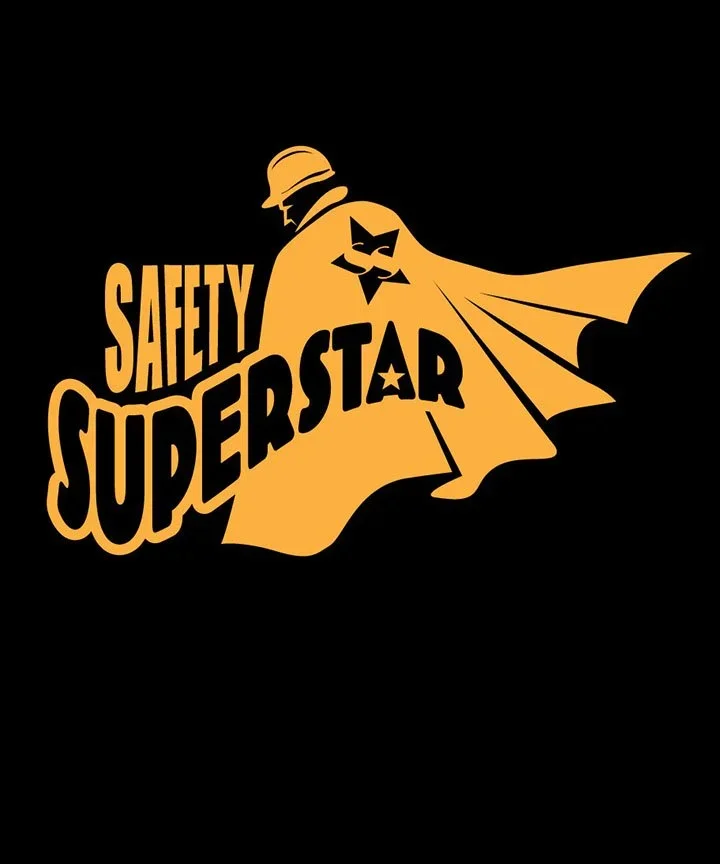
LOGO CREATION PROCESS
My steps in creating a logo are pretty typical of professional designers, and each step in the process has its own important purpose.

Step 1 is to gather information from the client and work up some quick sketch ideas. From these scribbles, I focus on a few of the best ideas.

Step 2 is working up some refined logo ideas based off of my rough sketches, and presenting some options to choose from.

Step 3 involves continued refinement of the favored logo idea. This step may involve playing around with different fonts, color or layout.

And finally, we have a finished logo!
THE MAKING OF A BOOK COVER
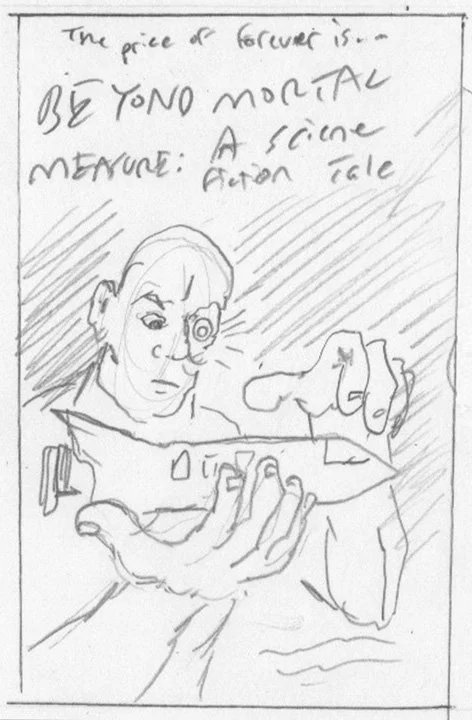
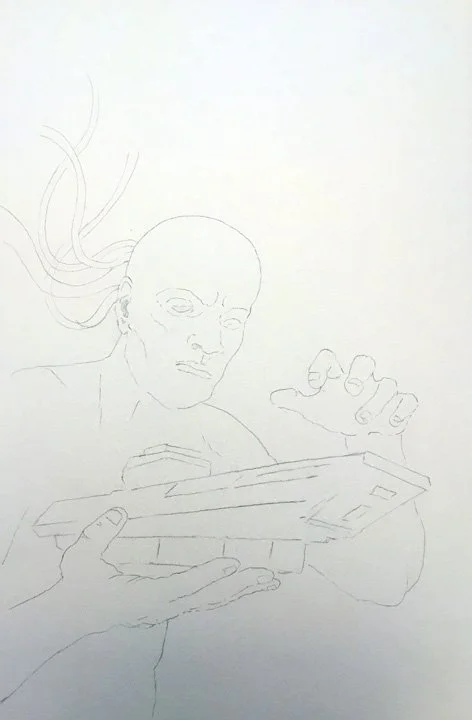
Here’s a look at my process of creating a science fiction book cover. From the initial rough sketch layout idea, to pencils, and finally… the completed painting, typography, and some distressed “dust and scratches” graphics to give it a vintage-looking feel.
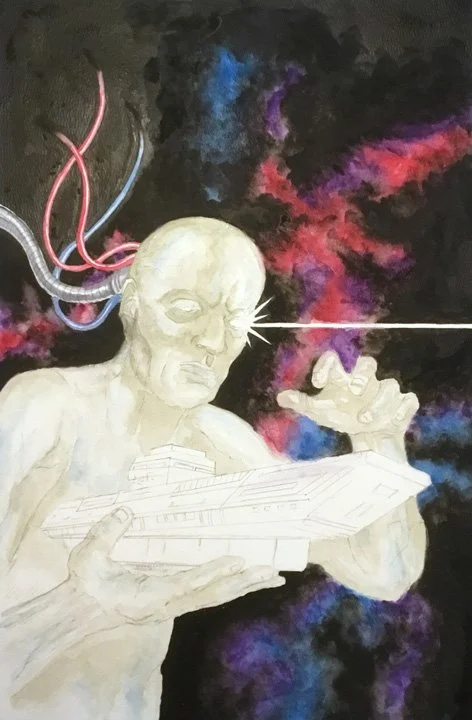
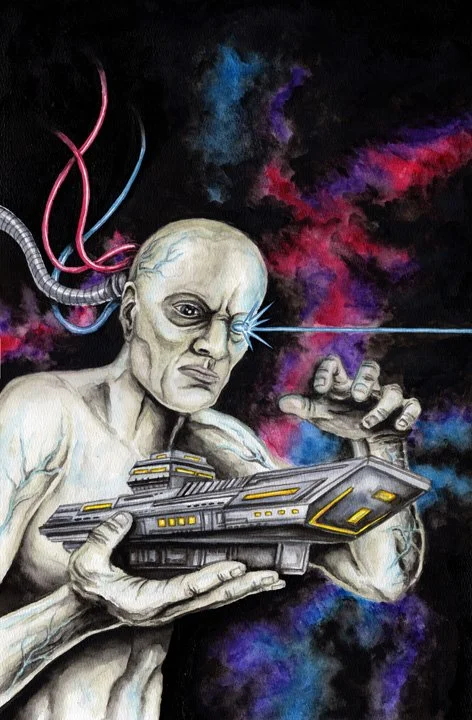
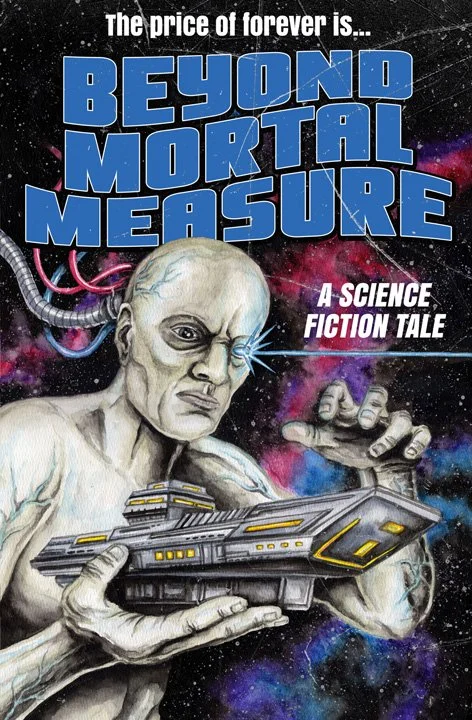
WATERCOLOR PAINTING PROCESS
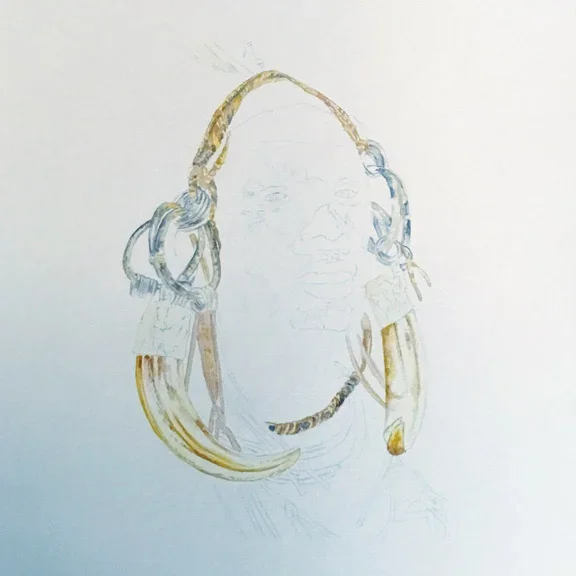
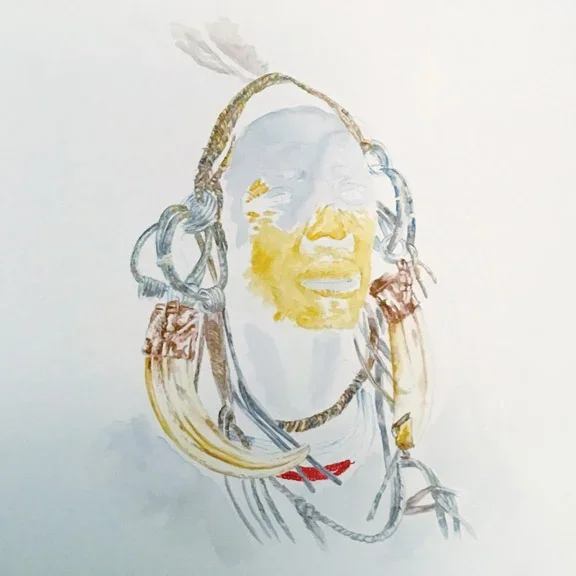
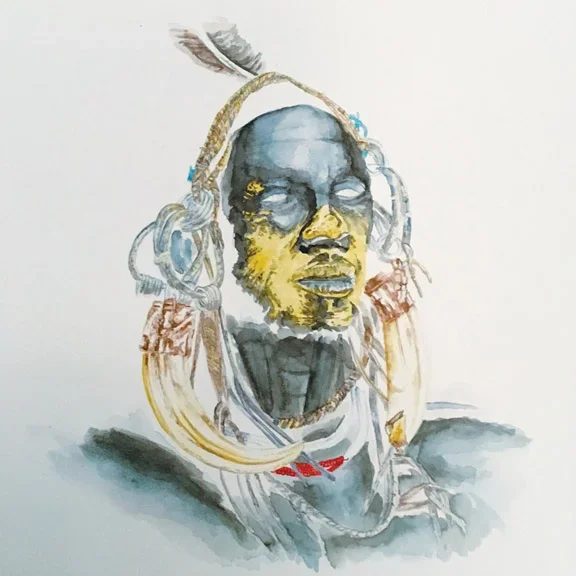
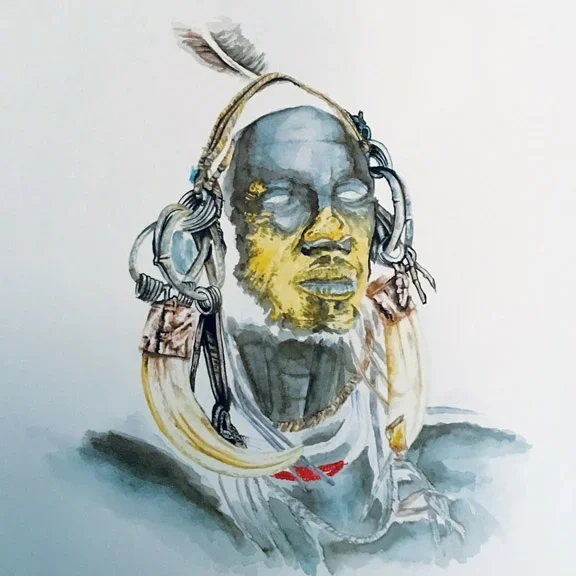
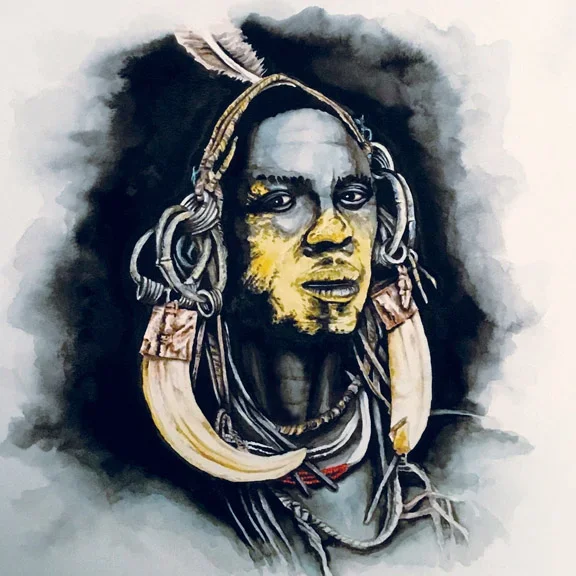
Here is a step by step process of one of my watercolor paintings. Starting with the pencil drawing, I add layers of progressively darker colors, and then finish off the painting with the solid black details and shadowing.
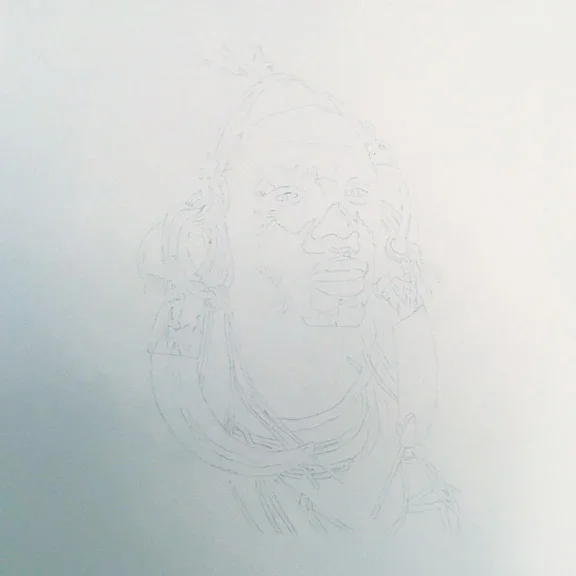
THE MAKING OF AN ALBUM COVER
This project for a band involved illustration, watercolor and graphic design work to create their album cover. Shown here is every step of the process from the initial rough sketch ideas, the pencil and inks, to the color mockup and the finished piece.


WOODEN CANVAS PAINTING STEP-BY-STEP
Here is a step by step process on one of my wooden canvas paintings, from the pencil layout to the final brush strokes.


SHIRT DESIGN PROCESS
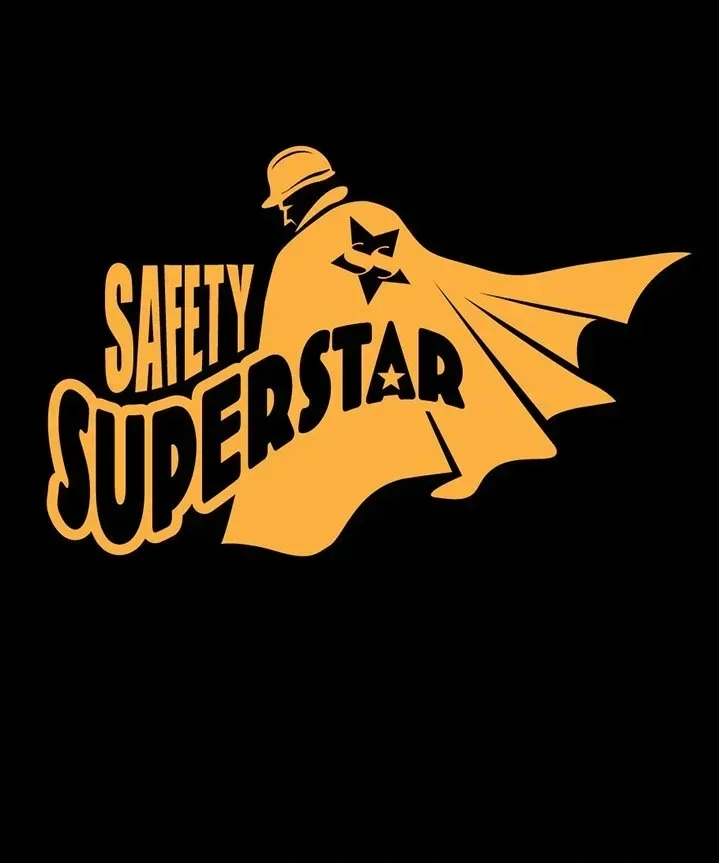
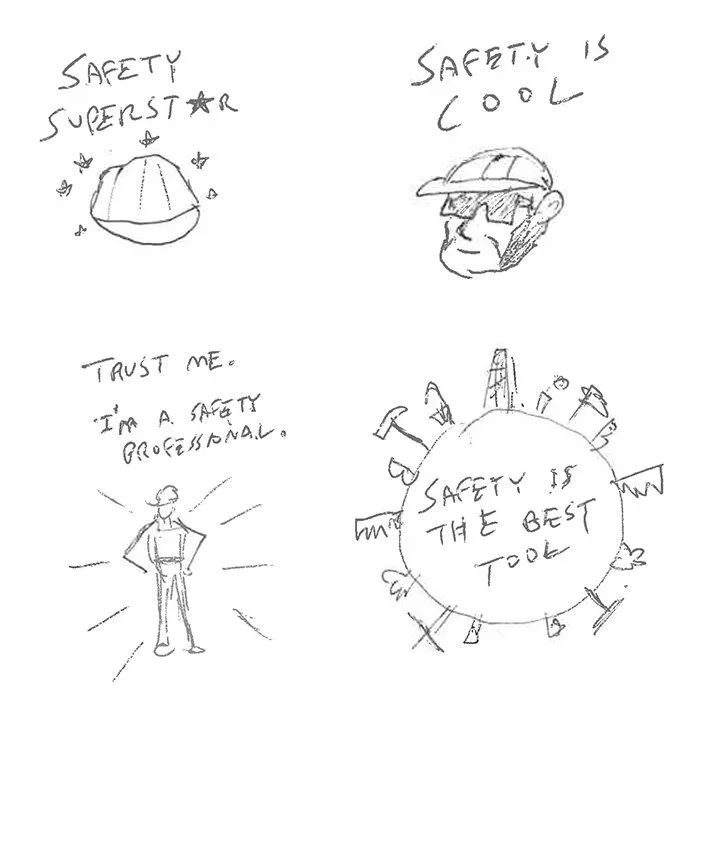
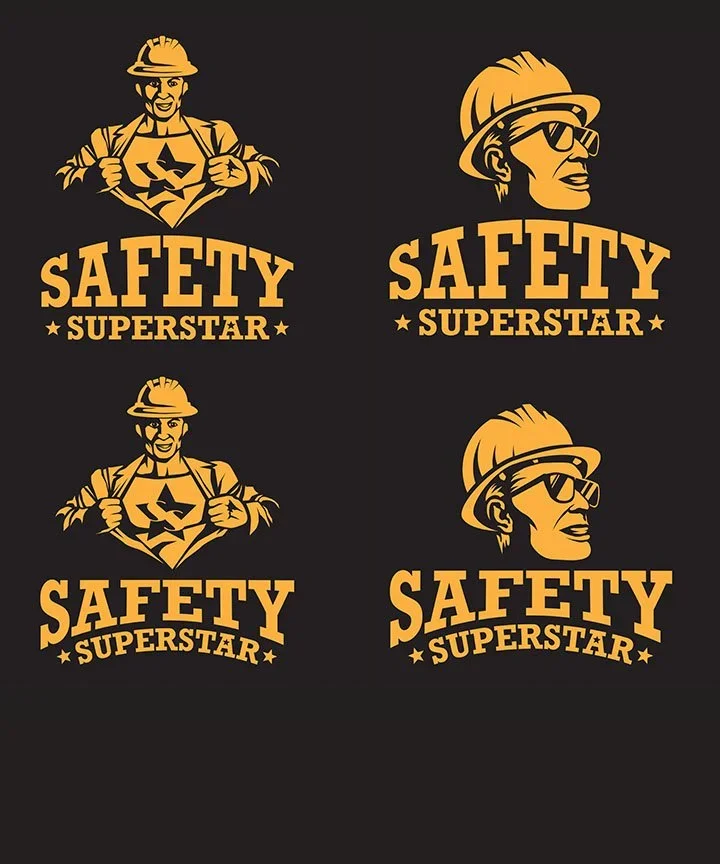
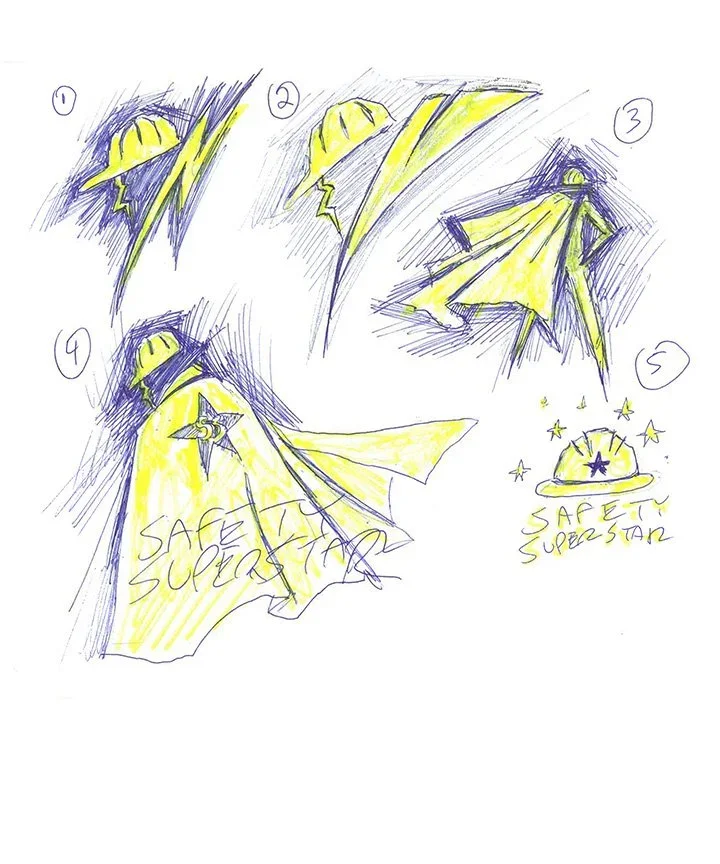
This design was for a safety conference shirt, featuring a superhero theme. Step 1 was doing some rough pencil sketches, and just playing around with some different ideas. The “superstar” theme is the direction that was chosen to be developed further. The next step was developing some finished concepts based on that idea. Upon review, it was decided that the design needed to be more gender-neutral. So back to the drawing board! Same superhero theme, but this time around I tried some versions that were not so obviously featuring a male character. Upon further developing those concepts into designs for review, the bottom left Safety Superstar design was ultimately chosen.